Select your project.
Select Import from the popup.
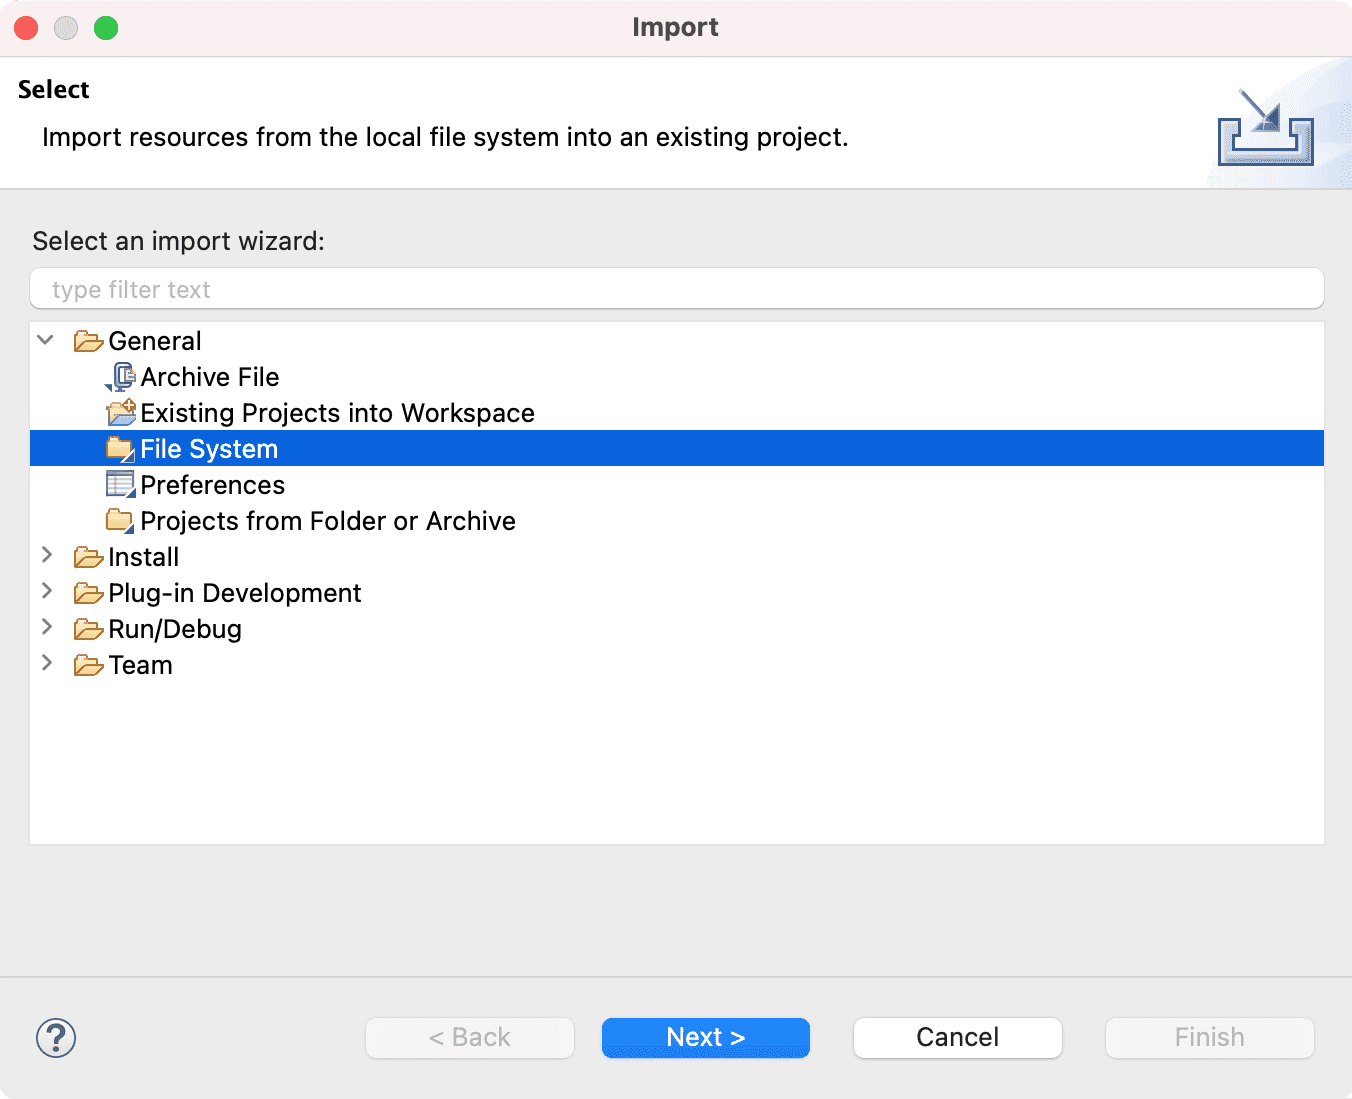
In the Import wizard, select File system, then click Next.

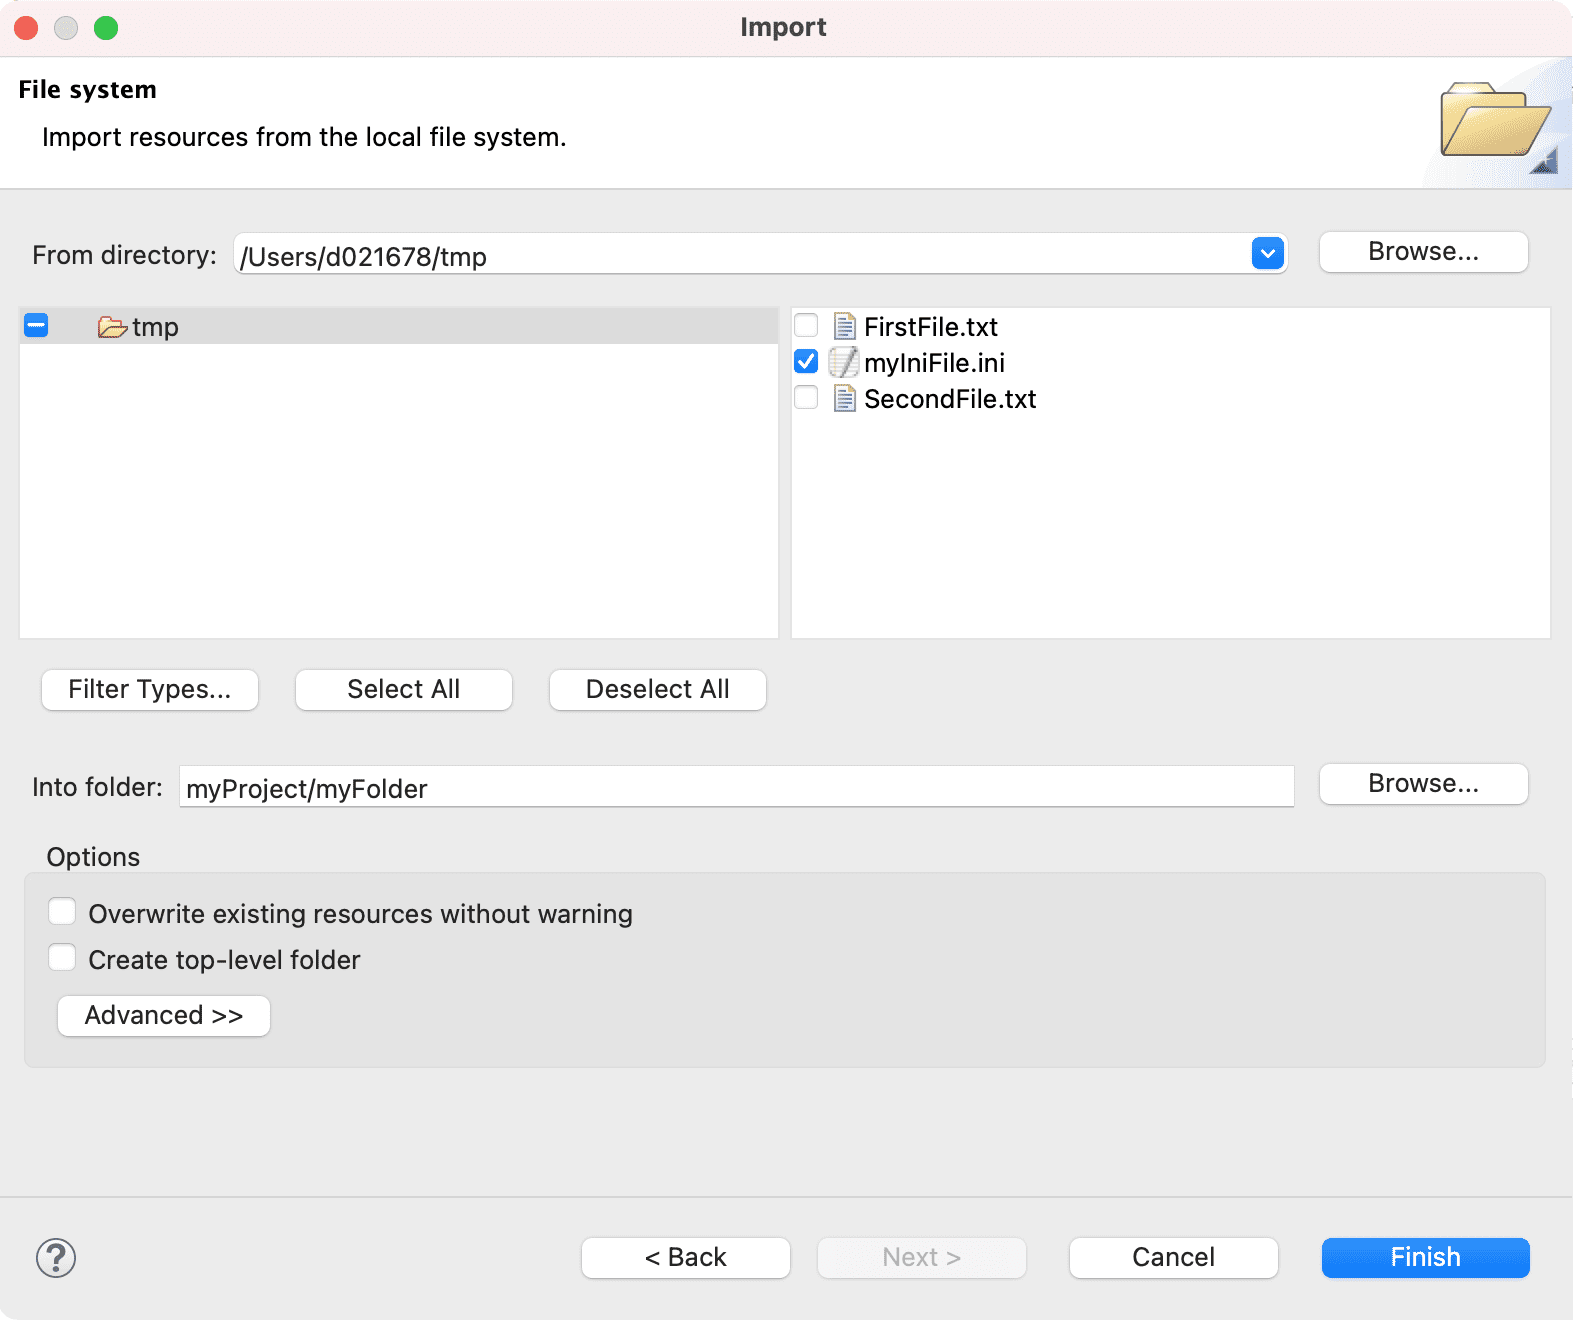
In the From directory field, type or browse to select the directory containing the .ini file that was recently exported.
Recent directories that have been imported from are shown on the From directory field's combo box.
In the right pane check the .ini file.
Checking a folder in the left pane will import its entire contents into the Workbench. A partially marked checkbox (as shown below) indicates that only some of the files in the folder will be imported into the Workbench.
The Filter Types... button can be used to filter the types of files that will be imported.

The Into folder field should already be filled in with the name of the project.
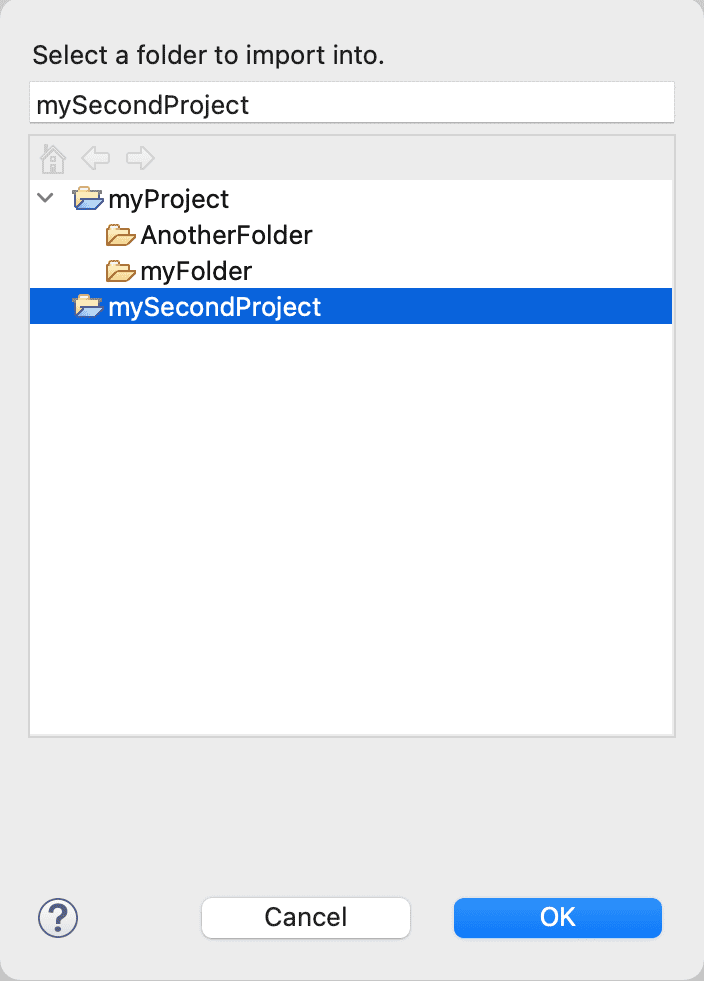
The destination project or folder can be changed by clicking Browse;
Click the Browse button and choose the second project.

In the Options area, options are given to:
- Overwrite existing resources without warning
- Create complete folder structure or Create selected folders only
Click Finish when done. The .ini file is now shown in the one of the navigation views in your project.