Drag and Drop or Copy and Paste
On some platforms, for example on macOS and Microsoft Windows, the operating system's file system
browser can be used to copy folders and files from the file system into the Workbench.
Note: The resource(s) must be dragged to the exact location in the hierarchy of one
of the navigation views where the resources are to reside; they cannot be simply dragged and dropped onto a blank
area in the navigation view.
-
Open the operating system's file system explorer.
-
Locate the file JanesFile.txt that was recently exported and drag it to a specific location in
one of the navigation views in the Workbench.
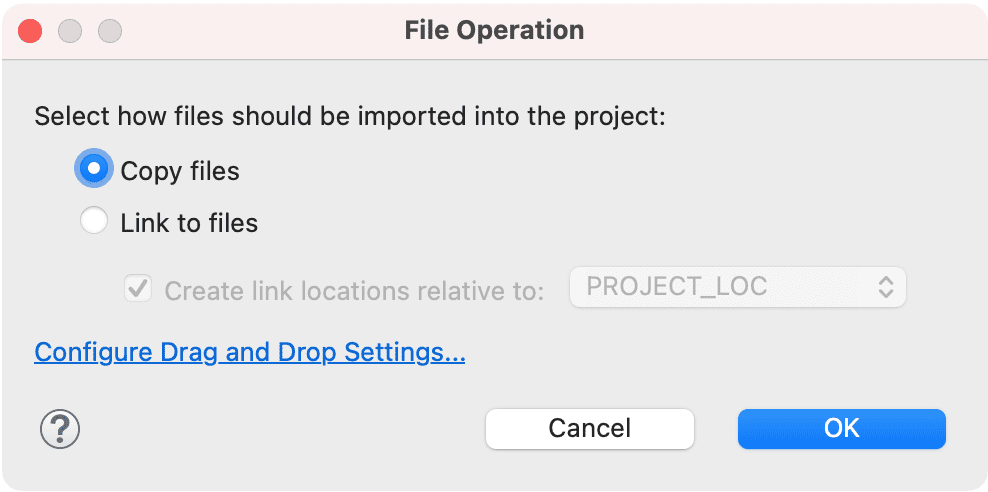
A dialog appears that allows to determine how the file will be added to the project, either as a
simple copy of the original file or as a link file.

When dragging resources into one of the navigation views, the project/folder that the resource is
being dropped into will be selected.
Drag the file over your project and release the mouse button.
-
Notice that the file is copied into the Workbench and placed into JaneQUser2.
- This can also be achieved by copying the file in the file system explorer, then selecting the destination in
the navigation view and choosing Edit > Paste.
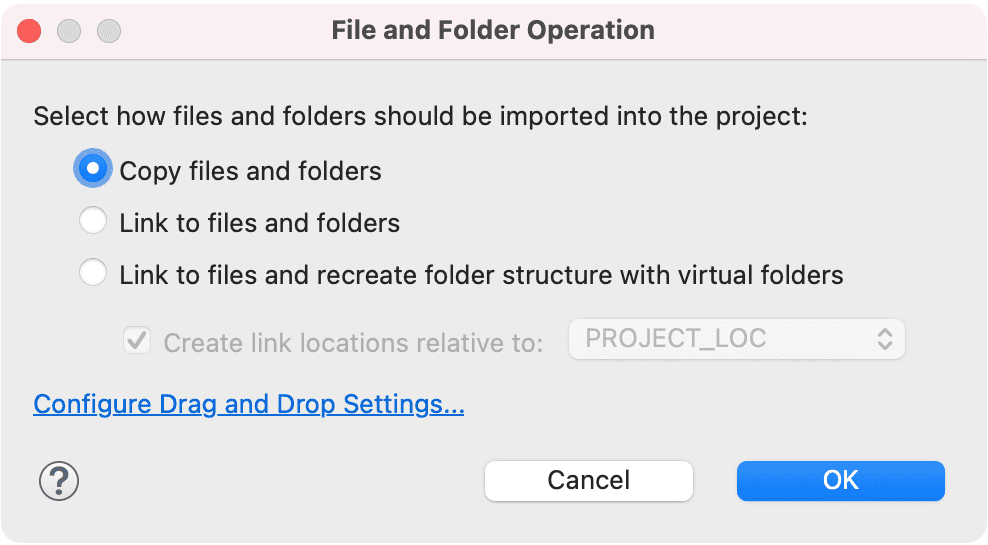
Generally, files and folders can be imported in a project by making copies under the project folder,
or by linking to the original files and folders by creating link files and folders. When folders are drag and dropped
(not only files), the dialog also allows you to create a project hierarchy with virtual folders. A virtual folder is
a folder hierarchy in the Workspace whose files are all links referring to the original file system location.


