Activate the Project Explorer view and select the first project we created in the Project Explorer view. From the view's popup menu choose New > Folder.
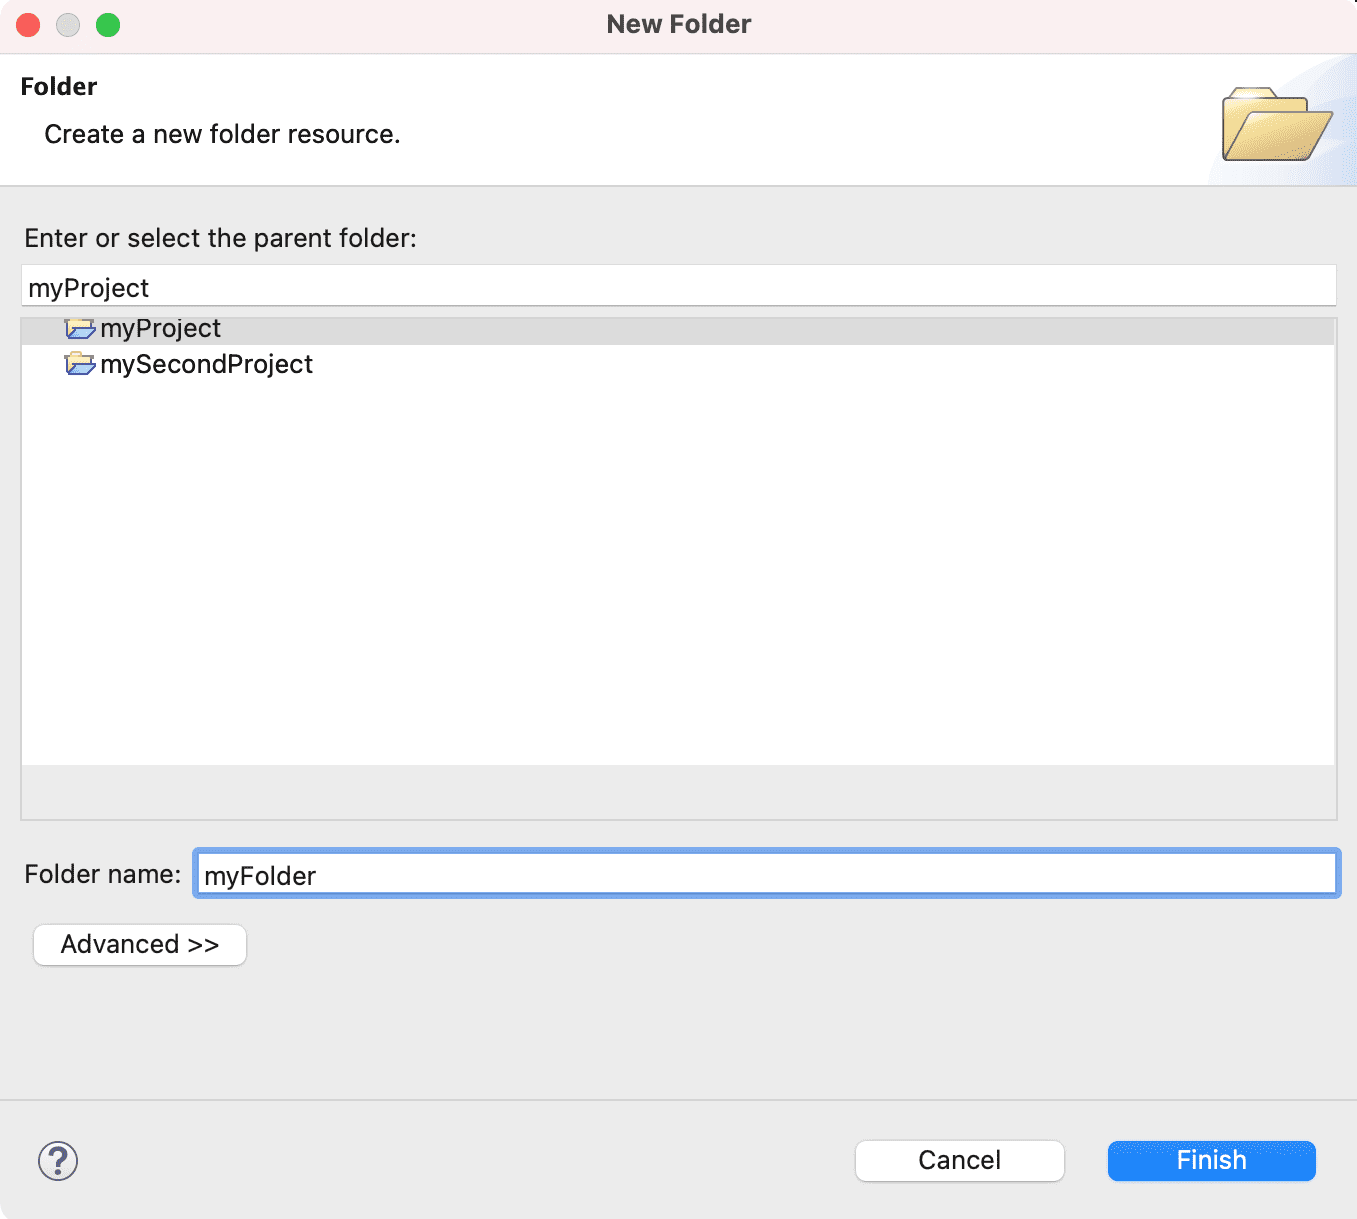
In the New Folder wizard, your project name appears by default in the Enter or select the parent folder field. This is because we chose to create the new folder from your project's context menu.
In the Folder name field, type a unique name for your new folder. Depending on the operating system you are running on, some characters will not be allowed.
Click Finish when you are done. The Project Explorer view will update to show your newly created folder.