 Window > Show View > Other...
and selecting the view from the Show View list.
Window > Show View > Other...
and selecting the view from the Show View list.A view is a workbench part that can navigate a hierarchy of information or display properties for an object. Only one instance of any given view is open in a workbench page. When the user makes selections or other changes in a view, those changes are immediately reflected in the workbench. Views are often provided to support a corresponding editor. For example, an outline view shows a structured view of the information in an editor. A properties view shows the properties of an object that is currently being edited.
The extension point org.eclipse.ui.views allows plug-ins to add views to the workbench. Plug-ins that contribute a view must register the view in their plugin.xml file and provide configuration information about the view, such as its implementation class, the category (or group) of views to which it belongs, and the name and icon that should be used to describe the view in menus and labels.
The interface for views is defined in IViewPart, but plug-ins can choose to extend the ViewPart class rather than implement an IViewPart from scratch.
We implemented a minimal view extension in the hello world example. Now we'll look at one that is aware of other workbench views and responds to user navigation and selection changes in the workbench. First, let's take a look at the declaration of the extension in the plugin.xml.
<extension
   point="org.eclipse.ui.views">
      <category
            id="org.eclipse.ui.examples.contributions.viewCategory"
            name="%contributions.viewCategory.name">
      </category>
      <view
            category="org.eclipse.ui.examples.contributions.viewCategory"
            class="org.eclipse.ui.examples.contributions.view.InfoView"
            id="org.eclipse.ui.examples.contributions.view"
            name="%contributions.view.name">
      </view>
</extension>
This should look pretty familiar. We see that a new view, InfoView, is contributed to the workbench. The view id, name, and category are specified as we've seen before.
Let's look at the InfoView. You can show any view in the
workbench by choosing
Window > Show View > Other...
and selecting the view from the Show View list.
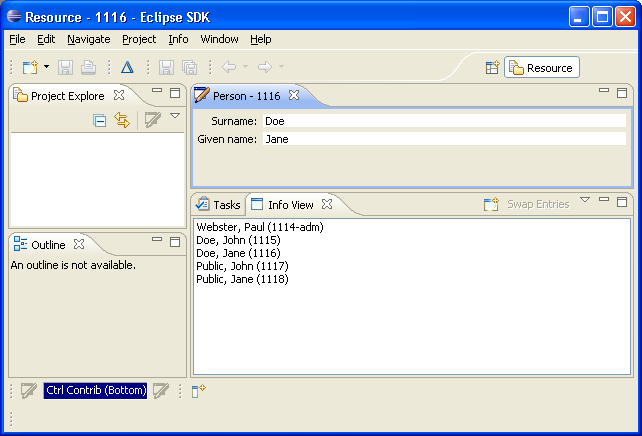
When we show the InfoView, a view with a list in it pops up. The list is pre-populated with some data.
We'll start with the familiar createPartControl method. As we saw in the Hello World example, this is where the widgets that represent a view are created. We'll ignore some of the code to get started.
   public void createPartControl(Composite parent) {
      viewer = new ListViewer(parent);
      viewer.setContentProvider(new ContentProvider());
      viewer.setLabelProvider(new LabelProvider());
      viewer.addDoubleClickListener(new IDoubleClickListener() {
         public void doubleClick(DoubleClickEvent event) {
            editSelection();
         }
      });
      // A service will be providing our input
      IPersonService service = (IPersonService) getSite().getService(
         IPersonService.class);
      viewerInput = new ArrayList(service.getPeople());
      viewer.setInput(viewerInput);
      ...
      // register myself as a selection provider for this view
      getSite().setSelectionProvider(viewer);
   }
The view creates and stores a ListViewer and sets the content and label provides. It also registers itself as the selection provider for this view. (The concept of selection provider, label provider, and content provider come from JFace viewers.) It obtains the service from its IViewSite, which contains information about the view's context, such as its workbench window, its containing page, its local services, and its plug-in.
We've covered a lot of common workbench concepts by studying this extension. Now we'll move on to some other workbench extensions and examine how your plug-in can further contribute to the workbench UI.