 Project > Build Project.
The class should compile without error.
Project > Build Project.
The class should compile without error. We have all the pieces needed to run our new plug-in. Now we need to build
the plug-in. If your Eclipse workbench is set up to build automatically, then
your new view class should have compiled as soon as you saved the new content.
If not, then select your new project and choose
Project > Build Project.
The class should compile without error.
There are two ways to run a plug-in once it has been built.
For simplicity, we'll run the new plug-in from within the Eclipse workbench.
To launch a runtime workbench, choose
Run > Run....
This dialog will show you all the different kinds of ways you can launch a program.
Choose Eclipse Application, click New and accept all of the default settings.
This will cause another instance of the Eclipse workbench, the runtime workbench,
to start.
So where is our new view? We can see all of the views that have been contributed by plug-ins using the Window > Show View menu.
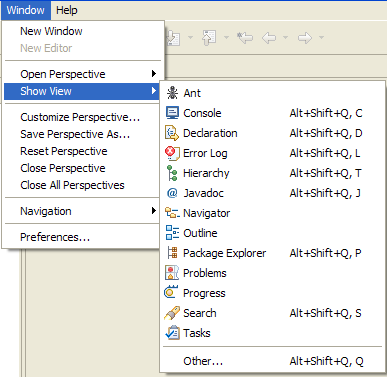
This menu shows us what views are available for the current perspective. You can see all of the views that are contributed to the platform (regardless of perspective) by selecting Other.... This will display a list of view categories and the views available under each category.
The workbench creates the full list of views by using the extension registry to find all the plug-ins that have provided extensions for the org.eclipse.ui.views extension point.

There we are! The view called "Hello View" has been added to the Show View window underneath our category "Hello Category." The labels for our category and view were obtained from the extension point configuration markup in the plugin.xml.
Up to this point, we still have not run our plug-in code! The declarations we made in the plugin.xml (which can be seen by other plug-ins using the extension registry) are enough for the workbench to find out that there is a view called "Hello View" available in the "Hello" category. It even knows what class implements the view. But none of our code will be run until we decide to show the view.
If we choose the "Hello View" view from the Show View list, the workbench will activate our plug-in, instantiate and initialize our view class, and show the new view in the workbench along with all of the other views. Now our code is running.
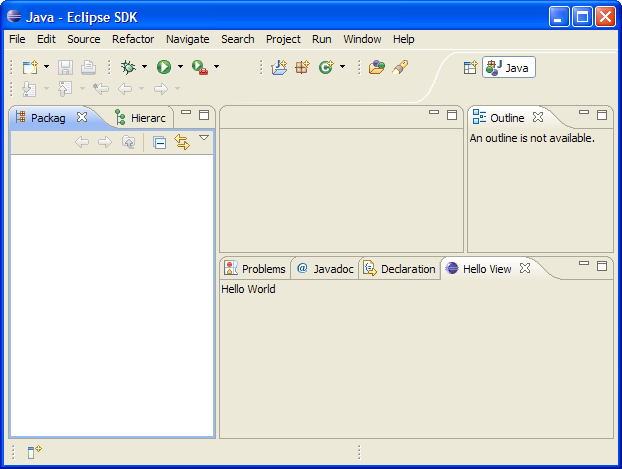
There it is, our first plug-in! We'll cover more specifics about UI classes and extension points later on.