Managing the persistence.xml file
When you create a project, Eclipse creates the META-INF\persistence.xml file in the project's directory.
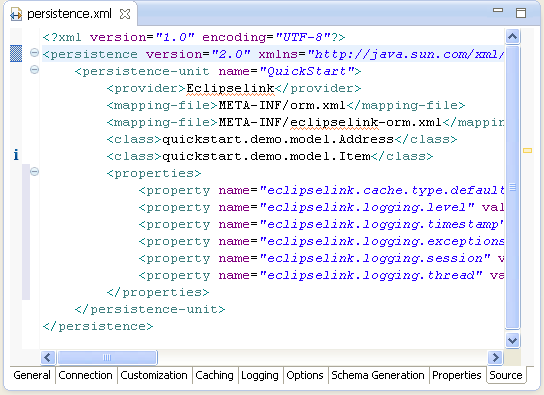
Sample persistence.xml File
<?xml version="1.0" encoding="UTF-8"?>
<persistence version="2.0" xmlns="http://java.sun.com/xml/ns/persistence" xmlns:xsi="http://www.w3.org/2001/XMLSchema-instance" xsi:schemaLocation="http://java.sun.com/xml/ns/persistence http://java.sun.com/xml/ns/persistence/persistence_2_0.xsd">
     <persistence-unit name="QuickStart">
          <class>quickstart.demo.model.Address</class>
          <class>quickstart.demo.model.Item</class>
     </persistence-unit>
</persistence>
You can manage this file either through the XML editor or through the persistence.xml Editor.
|
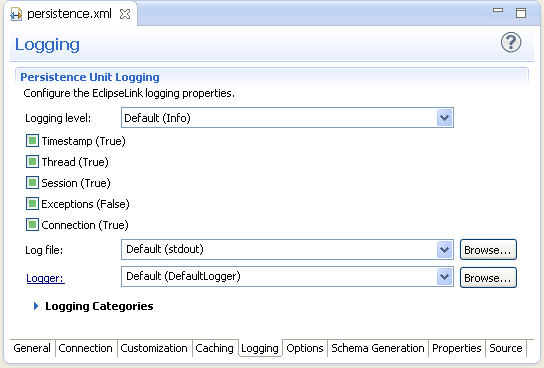
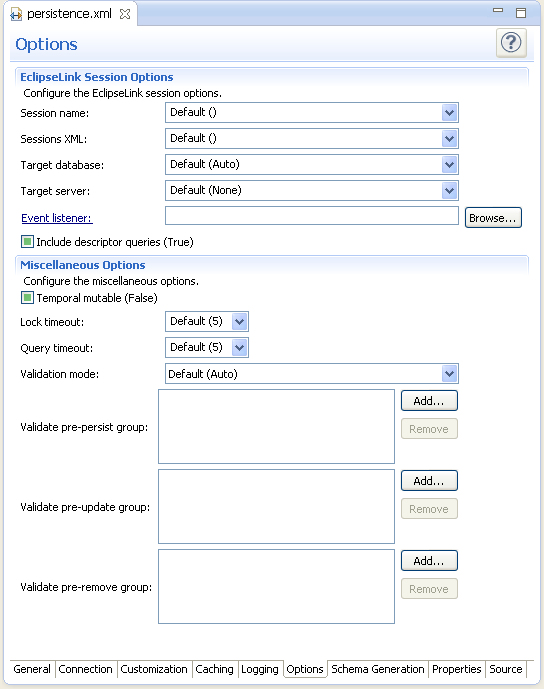
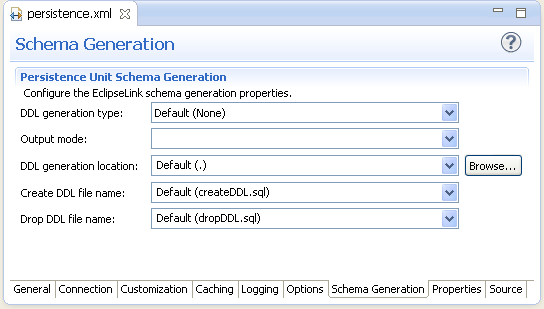
Note: Depending on your JPA implementation (for example, EclipseLink), the following pages may be available in the persistence.xml Editor:
For projects using the EclipseLink JPA implementation, the Connections page also includes JDBC connection pool properties. If the project uses the Generic platform, then only the General, Connection, Properties and Source pages are available. |
To use the persistence.xml Editor:
-
Open the
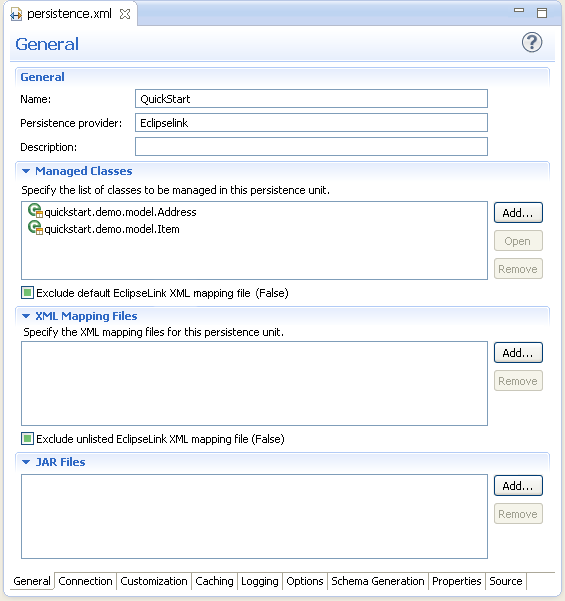
peristence.xmlfile. The General page of the editor appears. -
Use the General page to define the
persistence.xmlfiles<persistent-unit>-related attributes as well as the<provider>, and<class>elements (described in the following table).
Tip:
The persistence.xml Editor's Source page enables you to view and edit the raw XML file.
-
Complete each field on the General page.
-
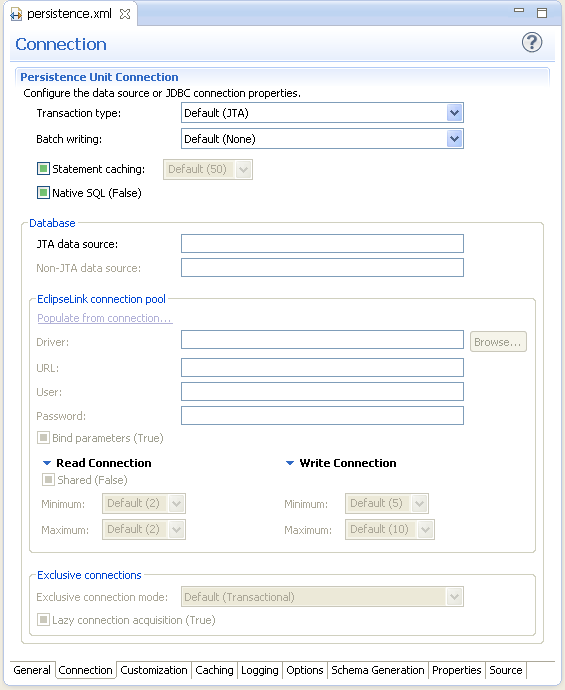
Use the Connection page to define the
<jta-data-source>and<non-jta-data-source>elements as follows:To configure the JTA (Java Transaction API) source used by the persistence provider:
-
Select JTA from the Transaction Type list.
-
Enter the global JNDI name of the data source.
To configure a non-JTA data source:
-
Select Resource Local from the Transaction Type list.
-
Enter the global JNDI name of the data source.
Note:
Select Default() to use the data source provided by the container.
For projects using the Generic platform, you can also define the EclipseLink connection pool driver, connection pool driver, URL, user name and password.
-
-
Complete each field on the Connection page.
-
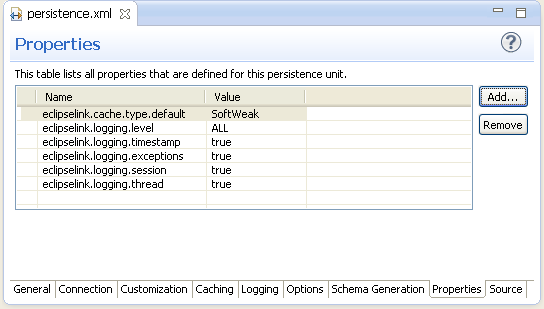
Use the table in the Properties page to set the vendor-specific
<properties>element.To add
<property>elements:-
Click Add.
-
Enter the
<name>and<value>attributes for the<property>element using the table's Name and Value fields.
To remove a
<property>element, select a defined property in the table and then click Remove.
Note:
If the project uses the EclipseLink platform, the connection page also includes parameters for JDBC connection pooling.
-
-
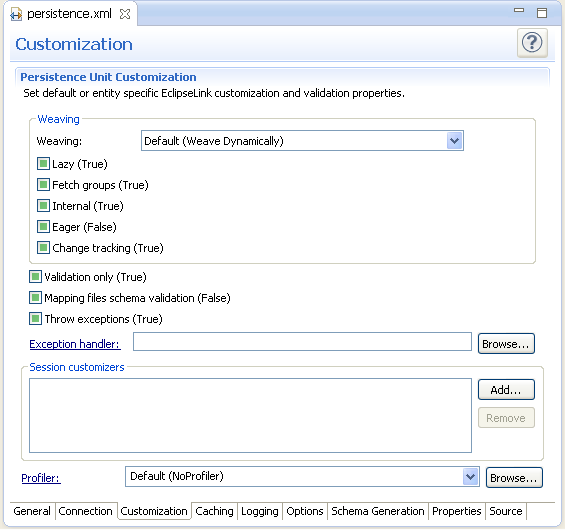
Complete each field on the Customization page.
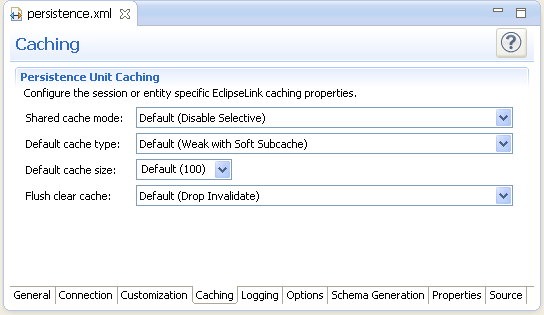
Additional pages may be available for the persistence.xml editor, depending on your JPA provider. See "persistence.xml Editor" for more information.
-
Caching page
-
Logging page
-
Options page
-
Schema Generation page
-
Properties page
-
Source page
Related reference
Related tasks
Related concepts
