Creating a CMake project
This tutorial describes the process of creating a new C/C++ project that includes a CMakeLists.txt file.
You need to create a project to contain your source code and related files. A project has an associated builder that can incrementally compile source files as they are changed.
To create a project:
-
Select .
When you create a new project, you are required to specify the project type. This project type will determine the toolchain, data, and tabs that the CDT uses/displays.
-
Select the type of project to create. For this tutorial, expand the C/C++ folder and select C/C++ Project.
-
Click Next.
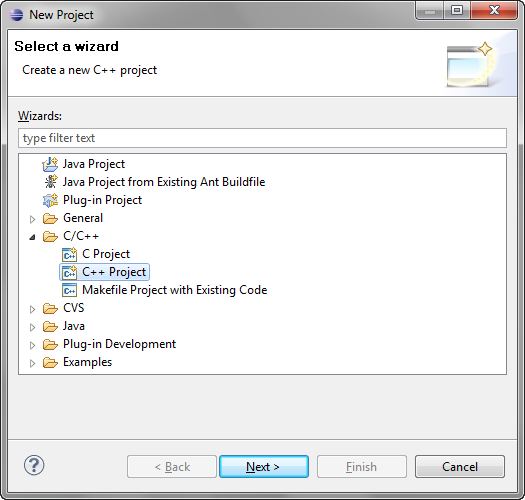
The C/C++ Project wizard opens:
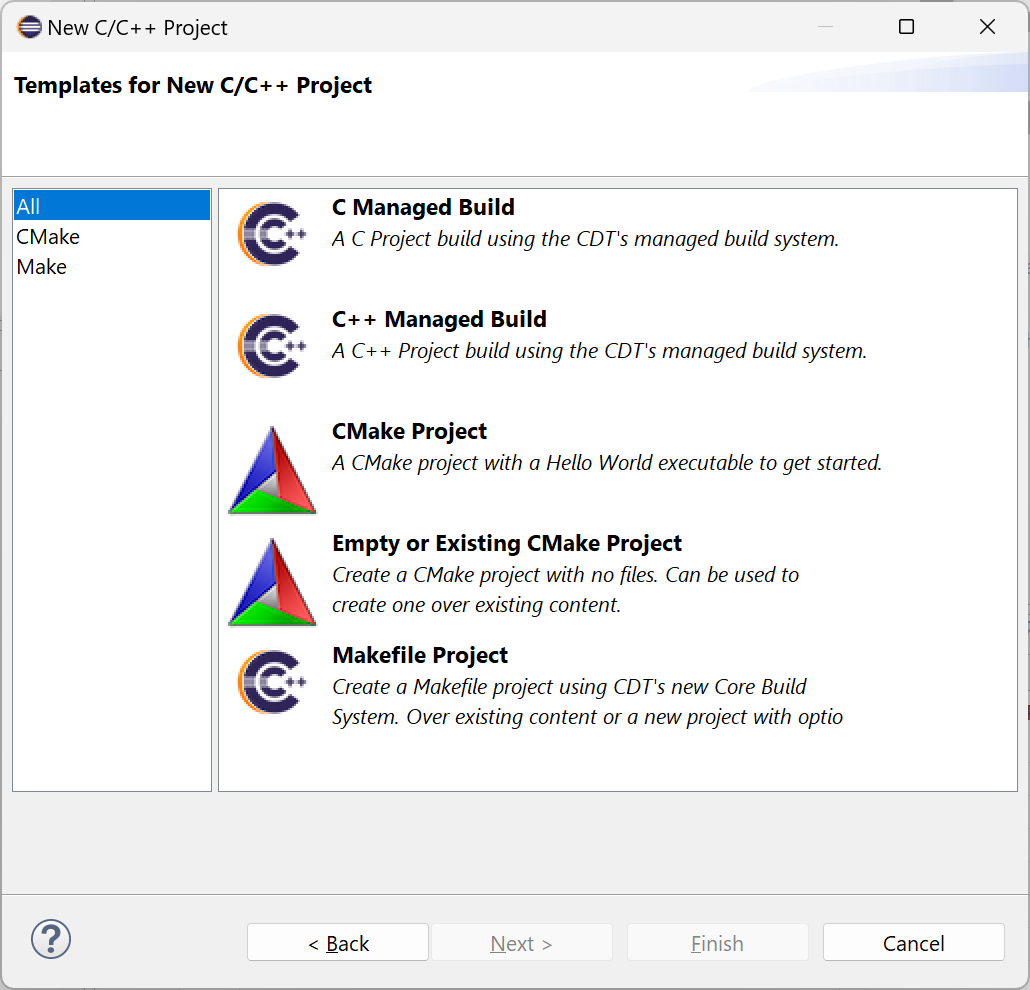
By default, the CDT presents all C/C++ Project templates.
-
Select the CMake template filter and choose from the following CMake project templates:

-
CMake Project - provides a simple C++ Hello World executable application project with main() and a supporting CMakeLists.txt file.
-
Empty or Existing CMake Project - provides an empty executable application project suitable for importing existing source and CMakeLists.txt files.
-
-
Click Next.
-
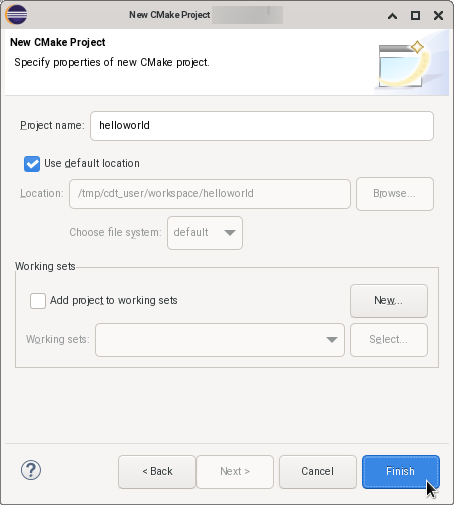
In the Project name field, provide a name for the new project.
-
Leave the Use Default Location option selected.
-
Click Finish.
-
If a message box prompts you to change perspectives, click Yes.
Your new project displays in the Project Explorer view. Your project may be empty because you have not yet created files for your project. You can now start writing the code for your application or importing code from elsewhere.