Creating a new JPA project
This quick start shows how to create a new JPA project.
-
Select File > New > Project. The Select a Wizard dialog appears.
Tip:
You can also select the JPA perspective and then select File > New > JPA Project.
-
Select JPA Project and then click Next. The New JPA Project page appears.
-
Enter a Project name (such as
QuickStart). -
If needed, select the Target Runtime (such as
Apache Tomcat) and configuration, such as Default Configuration for Apache Tomcat and then click Next. The Java source page appears.
Note:
The Target Runtime is not required for Java SE development.
-
If you have existing Java source files, add them to your classpath and then click Next. The JPA Facet page appears.
-
On the JPA Facet dialog, select your vendor-specific JPA platform (or select Generic 2.0), JPA implementation library (such as EclipseLink), database connection (or create a new connection), define how Dali should manage persistent classes, and then click Finish.
Tip:
Select Override the Default Schema for Connection if you require a schema other than the one that Dali derives from the connection information, which may be incorrect in some cases. Using this option, you can select a development time schema for defaults and validation.
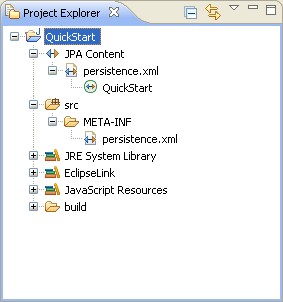
Eclipse adds the project to the workbench and opens the JPA perspective.
Now that you have created a project with persistence, you can continue with Creating a Java persistent entity with persistent fields.
