There is one prepared example project containing the sources for this tutorial. It shows more or less the resulting project, which you should have at the end of this tutorial.
Note: it can happen that the code snippets in the tutorial are different from the code in the example project. This means that the example project is outdated. In such a case please tell us, and we will update the example project immediately.
org.eclipse.graphiti.examples.tutorial
This plug-in contains the complete sources for the graphics framework tutorial.
Ensure that plug-ins org.eclipse.graphiti.examples.tutorial and org.eclipse.graphiti.examples.common are installed in your IDE. The latter includes inter alia wizards for project and diagram creation, and a tree.
It should at least be possible to create and open a diagram.
For this first test perform the following steps:
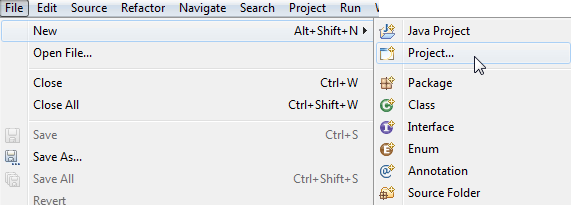
Figure: Start the "New" → "Project..."-wizard
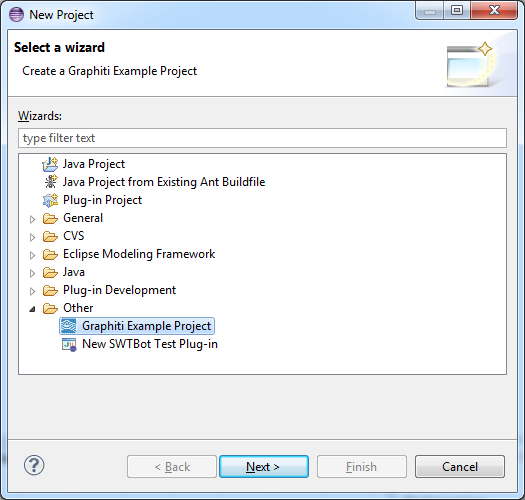
Figure: Select "Graphiti Sample Project" as project type
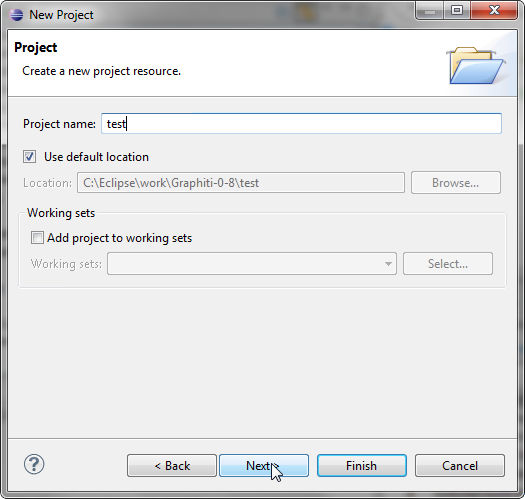
Figure: Insert a name for your project and hit "Finish" button
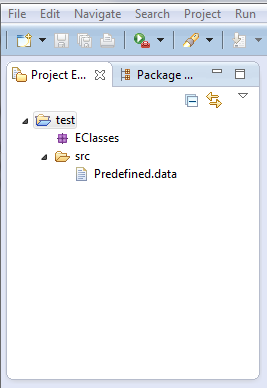
Figure: The newly created project
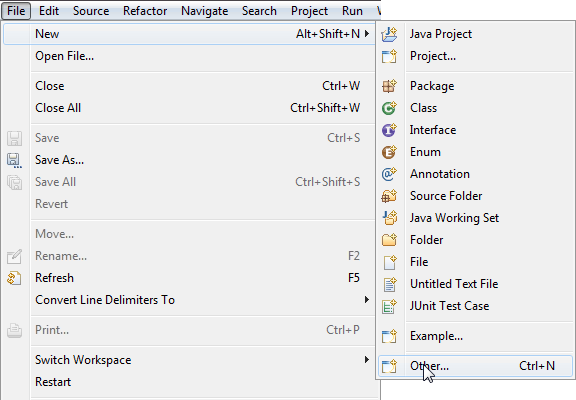
Figure: On the selected project open context menu: "New" → "Other..."
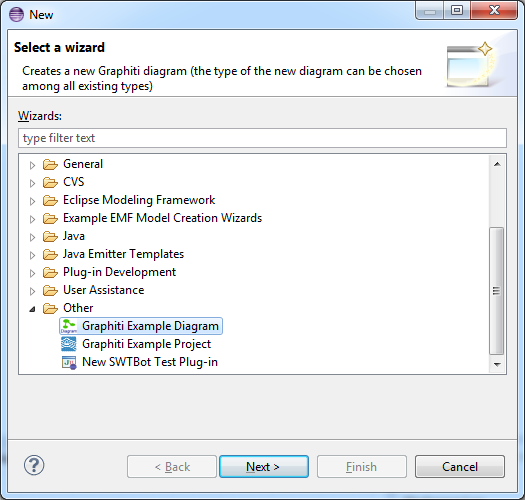
Figure: From the list of wizards select "Graphiti Diagram"
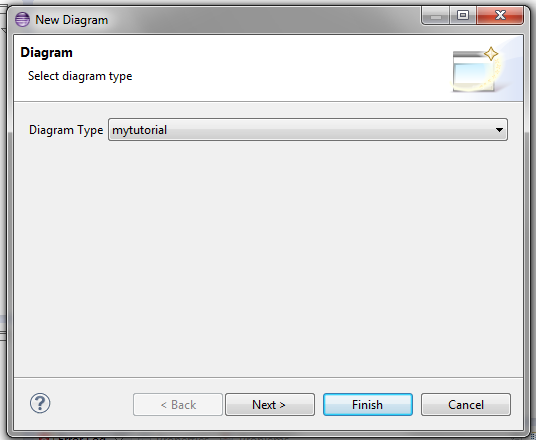
Figure: Specify diagram type: "mytutorial" and hit "Next" button

Figure: Specify the diagram name and hit "Finish" button
Diagram is opened automatically with your editor. Result is shown in the image below.
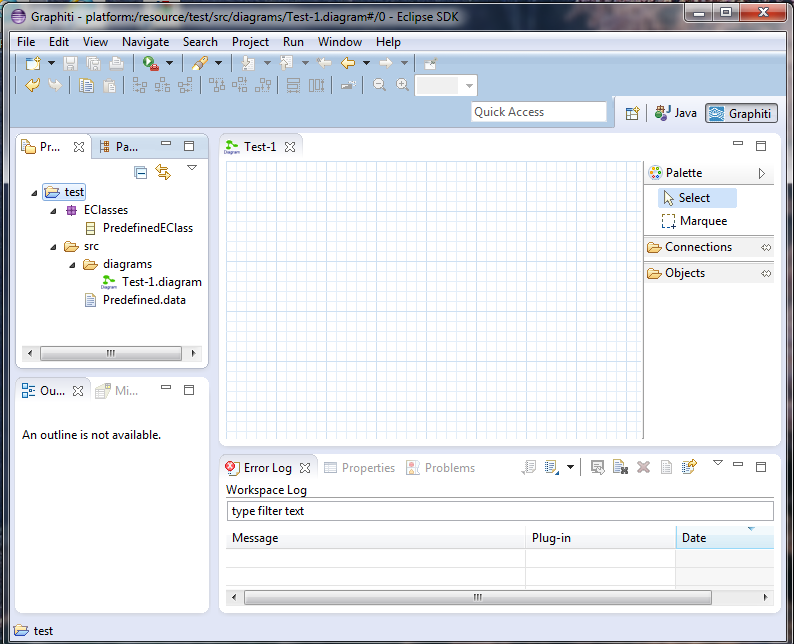
Figure: Empty diagram is opened in editor
Depending on the functionality already provided in your editor, you can continue to test further functionality.